
Article last updated March 8, 2023
Let's face it. First impressions matter. That's why we take care to dress well for an interview, or spruce up our home before guests come over.
The same goes for our documents. They can be our (literal) calling cards, and represent us in a professional capacity. So we want them to look their best – clear, precise, and clean.
And clean documents come from- you guessed it, clean printers.
Printer maintenance is important to not only give your documents a neater appearance, but it will also extend the lifespan of your printer, keeping your device working efficiently and avoiding costly repairs down the line.
When a printer is not working properly - and by “not working properly” we mean your printouts come out streaky, lined, or faded - it is often not because the printer is damaged. Over time, dust and dirt get into the printer and accumulate, thus affecting its functionality.
Needless to say, cleaning your printer regularly is necessary if you want it to work efficiently for a long time. You can either do this automatically (depending on if your printer has a self-clean feature) or manually.
The question is - do you know how to clean a printer correctly? If you've never done it before, we’ve got you covered in this blog post.
Oh, and stick with us until the end for some tips on how to know when it is time to replace your printer.
How a Printer Works
Before we go into our printer cleaning tips, we need to understand how printers work.
Simply put, printers work by accepting image and text output from a computer or mobile device and transferring that information to paper. Printers differ in speed, size, features, and price. Generally, more expensive printers are used for higher volume operations or to print exceptionally high-resolution images.
Personal computer printers are distinguished as either impact or non-impact printers. Early impact printers work like an automatic typewriter, where there are keys that strike an inked impression on the paper. If you have heard of, or have used a dot matrix printer - it was a popular type of impact printer, not just for personal use but for business too - because it was the low cost option. Over the years, however, printer technology has evolved.
Newer, more popular non-impact printers are laser printers and inkjet printers. Inkjet printers spray ink from a cartridge at a close range to the paper as it rolls by. Laser printers - as the name suggests - use a laser beam reflected from a mirror to attract toner (ink) to the sheet of paper that rolls by.
How Often a Printer Needs to be Cleaned
Whatever type of printer you have, giving it a regular basic cleaning will keep it working longer. You do not have to wait until the printouts start looking streaky or distorted before cleaning it.
Ideally, you should clean the interior of your printer every 6 months. Be sure, though, that you have turned it off and unplugged it from the power outlet before you clean the exterior and interior of the printer.
Things to consider before cleaning your printer
You should consider a few things before starting to clean your printer for the first time if you are doing it for the first time.

- An important thing to consider before cleaning your printer is the type of print head it has. - Disposable print heads (cartridges) have the ink tank and print head in one component. This means that both the cartridge and the print head must be replaced, or disposed of when necessary.
Permanent print heads, on the other hand, stay in the carriage and only the ink tanks are disposed of or replaced when the ink cartridges are empty.
You should avoid using detergents when cleaning your printer. - Detergents have chemicals that can damage the exterior and interior of your printer. Even water is unsuitable for most types of printers as it causes corrosion on the electric components in the device. Cleaning alcohol is best to use, as well as a soft, lint-free cloth.
If your printer comes with an in-system cleaning software, it’s recommended to try that out first. If, after trying the in-system program your test print still comes out streaky and smudged, then it’s time to do a more thorough manual cleaning.
Step-by-step guide on how to clean a printer
Cleaning your printer regularly will help keep it in top operating condition and save you money by avoiding costly repairs or the need to replace the entire thing. However, you need to make sure that you are cleaning your device correctly, or else you risk damaging it.
 Here are step-by-step guides on cleaning your printer - depending on what type you have at home or in your office.
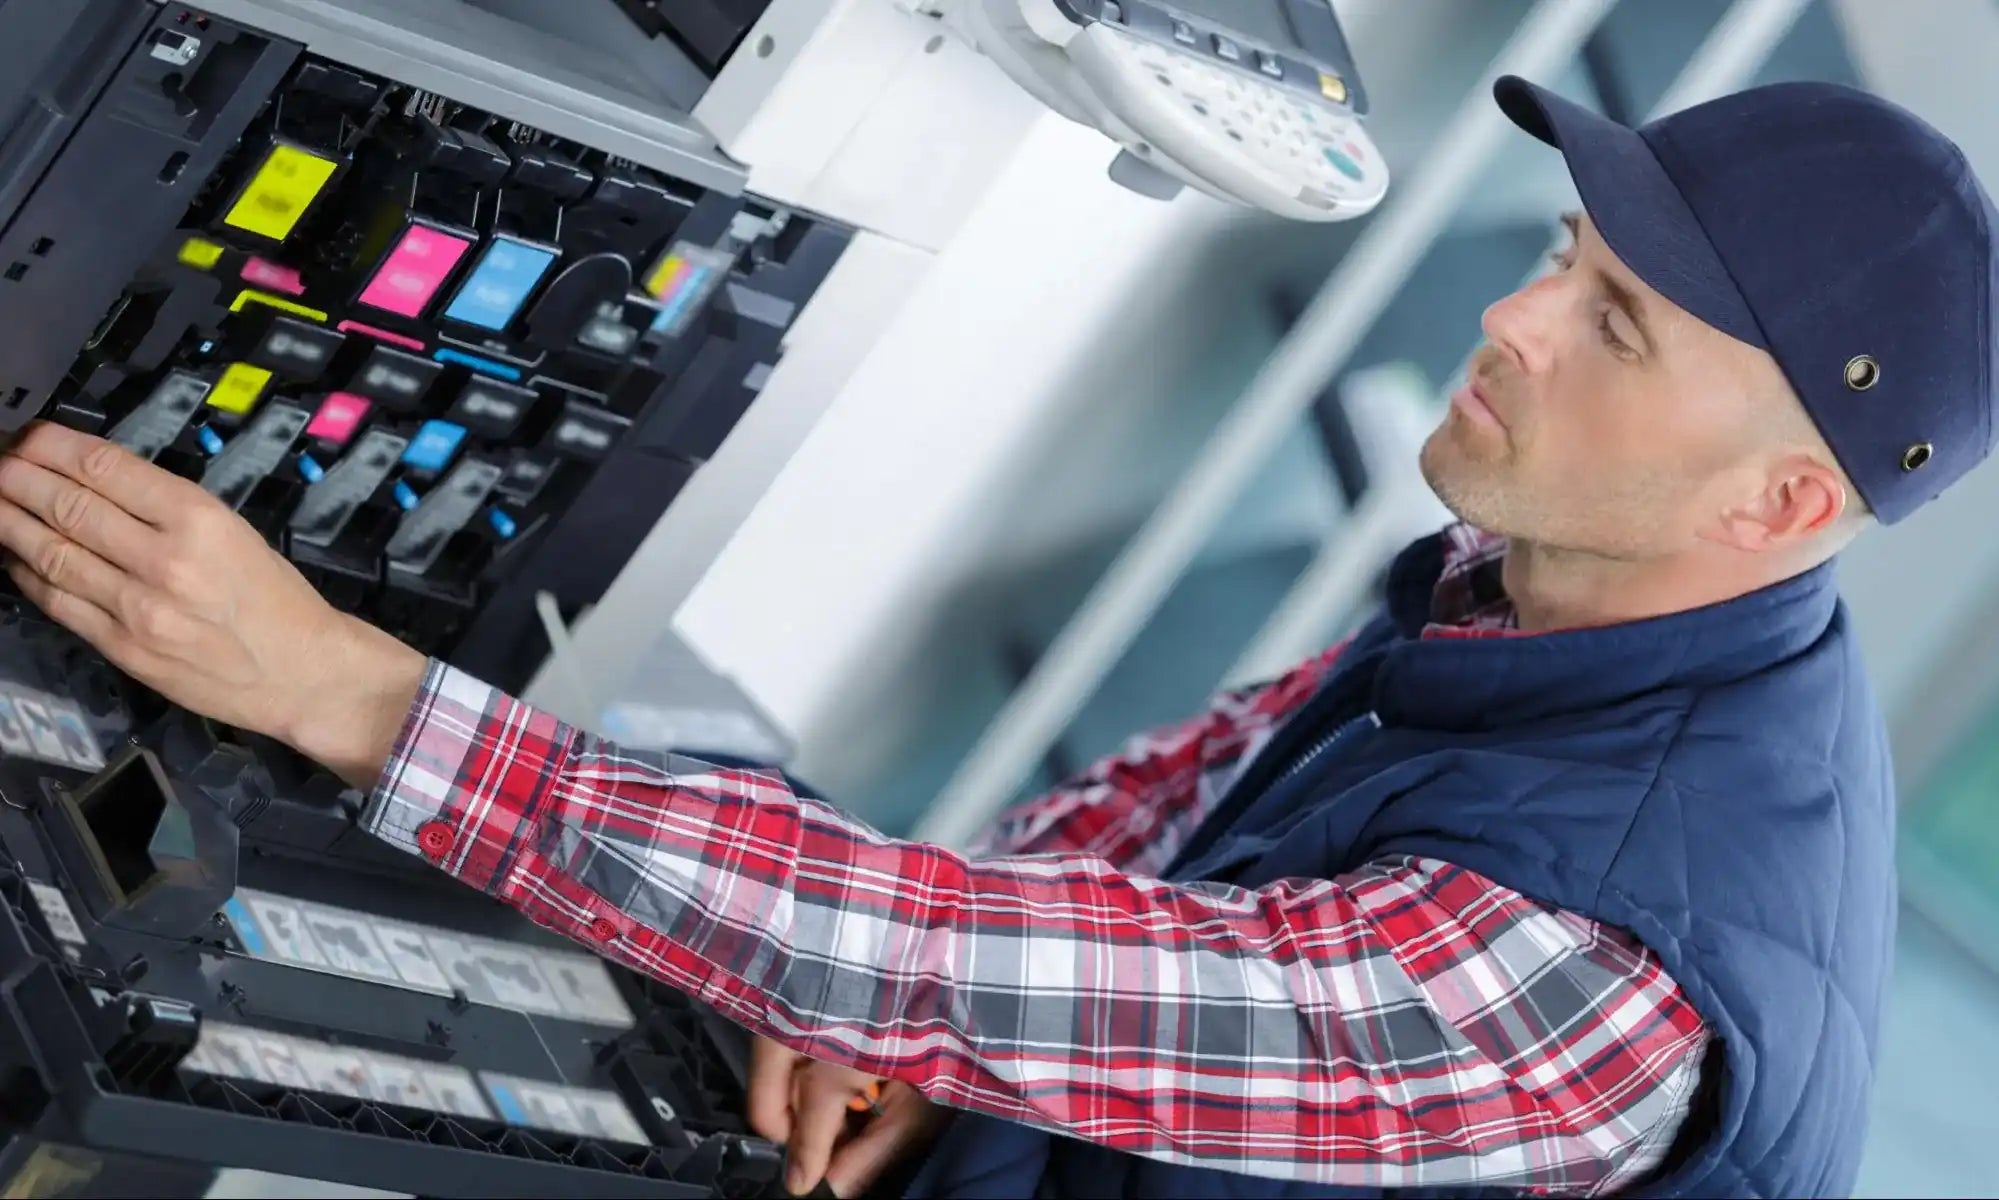
How to Clean an Inkjet Printer

Because inkjet printers use liquid ink, there are a few items that you will need before cleaning the device. This way, you can make sure that your clothes, your floor or carpet, and yourself all come out of the process stain-free.
What you will need:
- Gloves - Protective gloves are a must because ink can be difficult to remove from your skin. Taking a moment to put on gloves can help you avoid hours of furious skin scrubbing!
- Paper towels - Paper towels or kitchen rolls are durable and disposable. They are perfect for removing stubborn dirt from your printer’s internal components, and excess ink from the cartridges.
- Printer oil - Yes, it’s a thing. Printer oil will lubricate the printer’s internal components, and is an important part of regular maintenance work. Apply the oil after cleaning your printer.
- Window cleaner - Window cleaners can eliminate liquid ink stains effectively, as well as dried ink. The result - a squeaky clean, stain-free finish.
After you have all of the necessary cleaning supplies, it is time to get to work. Just a reminder though - the internal components of printers are fragile. So be extra careful.
Step By Step Guide To Cleaning Your Inkjet Printer
Step 1: Switch off the printer and remove the ink cartridges.
To remove the cartridges from an inkjet printer, the cartridge housing must be at the center of the stabilizer bar. To do this, open the front of the printer so the cartridge housing positions itself automatically at the center of the bar.
Once it does that, switch off the printer and unplug it from the power outlet. Only then should you extract the ink cartridges from the printer.
Step 2: Clean the ink cartridges.
After you have removed the ink cartridge from your printer, you will probably see that it is clogged with dried excess ink around the print head. Take a paper towel, spray it with some window cleaner (do not soak the towel through), and wipe the cartridge gently until you have removed all the excess, dried up ink. When you are done cleaning one cartridge, set it to one side on another paper towel.
Step 3: Clean the cartridge’s housing.
The housing holds the ink cartridges in place, so it is prone to dirt accumulation. Hard-to-reach areas can be cleaned with a paper towel and some Q tips sprayed with some window cleaner to remove dried ink and grime.
Step 4: Apply oil to the stabilizer bar.
The stabilizer bar runs directly through the center of the inkjet printer, and it allows the cartridges to move back and forth across the paper, distributing ink where needed. To ensure the bar’s functionality, you need to regularly oil this area.
Put two drops of oil onto the bar, and gently move the cartridge housing throughout its length to spread the oil evenly.
Step 5: Put the cartridges back.
Once you are happy that all excess ink, dust, and grime have been removed, re-insert the cartridges, then switch the printer back on. Afterwards, run checks to make sure your cartridge is aligned properly. And that’s it!. You have successfully cleaned your inkjet printer!
How to Clean a Laser Printer

Compared to inkjet printers - where it is normal to see ink residue on the internal components - laser printers are far easier to clean. That is, if you have the right tools and equipment for the job.
What you will need:
- Dust mask - laser printers use a powdered toner when printing, and this can cause irritation if inhaled. So before you open your laser printer, make sure that you are in a properly ventilated area and wearing a dust mask.
- Disposable toner cloth - Toner cloth is a piece of fabric that is specifically designed and formulated to attract and absorb toner powder. This disposable toner cloth traps toner particles easily, leaving your laser printer clean.
- Isopropyl alcohol - Also known as rubbing alcohol, it is recommended for cleaning printers because it evaporates quickly and leaves no traces of fluid that can cause damage to your device.
-
Latex gloves - powdered toner may irritate the skin, so make sure you wear protective gloves.
Step By Step Guide To Cleaning Your Laser Printer
Once you have all the cleaning supplies above, it is time to get to work. Important reminder though - there are a few areas inside your laser printer that you should avoid touching or handle as gently as possible because they are easily damaged. This includes the toner drum, which looks like a cylinder and is often green and protected with a plastic cover.
Step 1: Turn off your printer and let it cool down.
Turn the laser printer off and unplug it to avoid an electric shock. If you have recently used the device, wait for it to cool down completely before you start.
Step 2: Remove and clean the cartridge.
Open the front or back panel of the printer and then gently remove the toner cartridge. You can refer to your printer’s user manual for how to do this.
Get a square of toner cloth, wipe away excess toner from the cartridge, then set it aside on another piece of toner cloth.
Step 3: Wipe off excess toner from your printer’s internal components.
Using a toner cloth, carefully reach inside your printer and wipe away excess toner powder from the internal component surfaces. You may need to wipe down the cartridge housing, and some hard-to-reach areas.
Again, do this as gently as possible because some internal components are fragile and expensive to replace once they are damaged.
Step 4: Wipe external surfaces with alcohol.
Moisten a cotton swab with isopropyl alcohol and gently wipe down wires, cables, and external surfaces to make sure they are clean and sterile.
Step 5: Put everything back together.
After you have removed all the grime and toner inside your printer, put the toner cartridge back in, referencing the user manual on how to do this properly. Close the printer before doing realignment checks and do some trial prints to make sure you have done everything correctly.
The Importance of Printer Maintenance
All types of machines must receive proper maintenance and care to prevent damage or inefficiency. Printer components are often expensive to replace or repair. Oftentimes, the damage to these components is preventable with proper printer maintenance.
Whether you are using printers for business or at home, regular maintenance ensures that your printers are always in optimal working condition.
How to know when it’s time to get a new printer?
Printer owners who are not too tech-savvy may need help determining whether to hold on to their old printer or get a new one. Here are some helpful tips to get you started.

- The printer is not meeting your needs anymore - Does your printer no longer have the same print yield, cannot hold the paper capacity that you need, or sometimes just stops working? If you answer yes to some of these questions - that old printer may have to go.
- Performance is not what it used to be - If you are constantly (almost daily) suppressing the urge to throw your printer out the window - it is definitely time to get a new one. If you have cleaned the cartridge and still get streaky, blurry printouts - this is a sign that the printer is damaged.
- Your printer is outdated - You have upgraded your computer, tablet, and mobile phone. So why not your printer? Old printer models are harder to repair because parts get harder to find over time.
There are many other indicators that tell you it is time to get a new printer. Keep an eye out for these signs and get a new one before you end up spending more money on repairs and parts by holding on to your old printer.
Summing it up
As with anything mechanical, even simple maintenance and care - when done on a regular basis - can save you a lot of money and headaches with your printer.
As long as you use the proper cleaning tools and equipment and refer to the user manual when handling components, you can increase the lifespan of your printer. Also, using high quality ink and toners from InkJets goes a long way towards ensuring the quality of your printouts and the device’s performance. Check them out today!