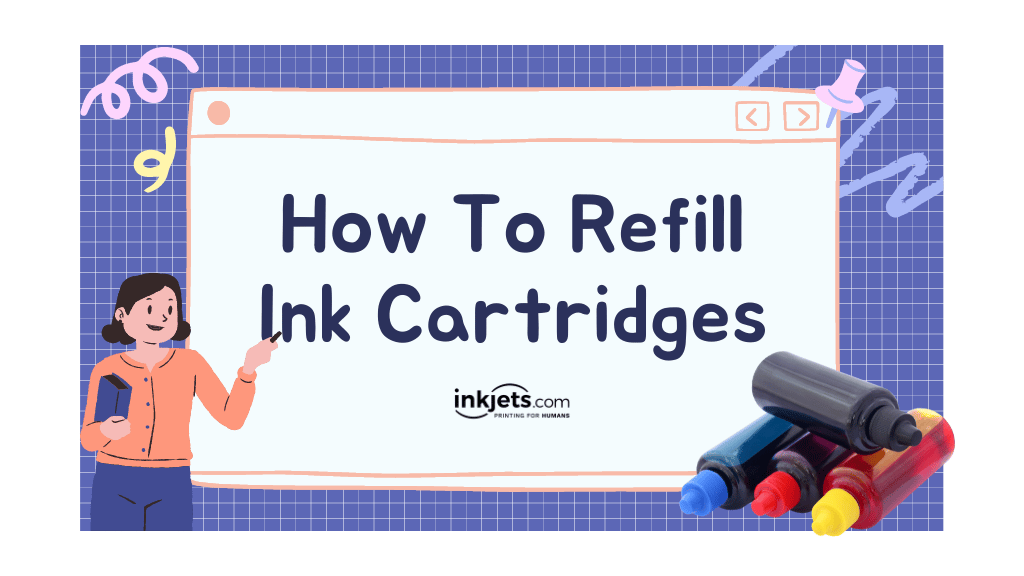
This blog post will teach you how to refill your own printer cartridges to save money. Though most printer manufacturers do not recommend refilling most cartridges, there are reputable companies that sell printer ink refill kits that work just as well as replacement cartridges.
How to refill an ink cartridge

1. Purchase a printer ink refill kit.
These kits are available at many office supply, discount, and department stores for a fraction of the price of an official replacement cartridge. Kits typically include ink, a syringe, seal covers, a manual, and a screw tool, as well as everything you need to refill an existing cartridge.
Some ink refill kits are universal, which means they are designed to work with any inkjet printer brand. Others are model- or manufacturer-specific.
Most printer manufacturers recommend against refilling your own printer ink. Instead, they advise you to buy new cartridges from them directly. Refilling your own cartridges may preclude you from receiving tech support from the printer manufacturer, so do so at your own risk.
2. Set up your workspace.
Because ink can be messy, place some newspaper or paper towels on a flat work surface. Then gather your ink kit, additional paper towels, a pair of gloves you don't mind getting dirty, and some clear tape.
Printer ink will stain clothing and surfaces permanently. Protect your hands by putting on gloves. Though ink stains on your skin are not permanent, they can last for a long time.
3. Take the printer cartridge out.
The steps vary depending on the printer, but the cartridges are usually not difficult to remove. Turning on the printer may be necessary to move the cartridges to a more accessible location.
Check your printer's manual for the exact location of the cartridges and removal instructions.
4. Place the empty cartridge on a paper towel that has been folded.
To make an effective spill guard, fold the paper towel in half twice.
5. Read the instruction manual for the refill kit.
The manual will include kit-specific instructions, as well as information on how to use the included tools. If the manual's instructions differ significantly from those in this article, follow them.
6. Locate the cartridge's ink fill hole.
Some cartridges, such as those manufactured by HP, already have a fill hole, eliminating the need to puncture the cartridge.
To find potential fill holes, peel back the label from the top of the cartridge. When using a cartridge with multiple inks in a single unit, each color will have its own fill hole.
If you find multiple holes, only one leads to the ink reservoir. Examine each hole until you find one that has a spongy material inside it—this is the fill hole. You can test this by attempting to remove some existing ink with the included syringe.
Some manufacturers include a twist-off cap on each cartridge that must be removed in order to access the fill hole.
If the fill hole is sealed, simply break the seal to fill it.
7. In the absence of a fill hole, make one.
If the cartridge does not have a fill hole (or if the hole is covered by a seal), you will need to puncture the plastic to make one. The best way to do this is to pierce the top side of the cartridge with the screw tool or drill bit that came with your kit.
If your kit did not include a puncture tool, use a pen, toothpick, knife, or screwdriver instead. If you're filling a single multicolor cartridge, you'll need to repeat this process for each color.
Make sure to follow any instructions in the kit that describe how to make and place the holes properly.
8. Fill the syringe halfway with ink.
Begin by pushing the plunger of the syringe all the way in. Insert the long end of the replacement ink bottle into the chamber and slowly pull the plunger away to fill it with ink.
9. Slowly pour ink into the cartridge.
Insert the long end of the syringe into the cartridge's fill hole until you reach the spongy bottom. Then, slowly lower the plunger to add ink. Push slowly to avoid adding air bubbles, which can cause the cartridge to break.
10. When a little ink oozes out of the hole, stop adding more.
This means you've made it to the top. Pull the plunger slightly outward to suck out some of the excess ink, then remove the syringe from the fill hole.
With a paper towel, clean the area around the fill hole. Before you plug it up, make sure it's clean and dry.
11. Use a small piece of tape to cover the hole.
If your kit included a seal/stopper that fits into the hole, insert it now. However, tape can sometimes create a better seal. Once sealed, blot the top of the cartridge several times with a folded paper towel to remove any excess ink.
12. Fill in the remaining colors.
If your kit includes multiple syringes, use a different one for each color to avoid mixing them together. If not, wash and dry your syringe thoroughly between colors. Blot any excess ink from each cartridge before reinstalling it in the printer.
13. Replacing the cartridge, print a test page.
To get the ink flowing, print something. If you refill more than one color, print something in both full-color and black-and-white to ensure that all of the ink is properly printed. You may need to print a few test pages to ensure that everything is working properly.


